
Let me start off by saying, it is a bit of work although not particularly difficult. And this is by no means the "professional" way of doing it, only the way that I've interpreted how it might be done by examining at the end result of having a professional tailor let out a hem for me in the past.
I'm going to try to make the steps as simple as possible, but if anything needs more clarification, please let me know and I'll make some changes to the steps to make it easier to understand!
What you'll need:
Seam Ripper (or small scissors to let out the old seam)
Scissors
Seam binding/old material/grosgrain ribbon about 1" to 1.5" wide
Thread that matches your pants as closely as possible
Sewing machine
Pins
Iron for pressing
The steps:
(1) Let out the existing hem. Here, I had a cuff and used my seam ripper. If you don't have a seam ripper (I highly recommend that you get one), you can use a pair of small scissors. Be careful to cut the right threads or you may have the entire pant leg coming apart!

(2) Press well (with an iron), so that the lines of the old hem no longer show. The last thing you want to see is the residuals of an old hem job.
(3) Find a piece of old material or seam binding about 1" to 1.5" wide that you can sew to the end of the pants. This will not be seen, so you can use whatever you like. I decided to use this polka dot grosgrain ribbon that I had purchased from Etsy a while back:

(4) Cut two pieces that are a little longer than the total width of the leg opening of the pants (approximately 2cm longer). You are going to sew the ends of the binding together, so after they are sewn, the width of the loop should match the width of the pants exactly.
(5) Take one piece of ribbon/binding and sew the ends together. If there is a "right" side and "wrong" side as above (the "right" side has polka dots, the "wrong" side does not), sew the right sides together so that the seam looks like this:

(6) Do the same with the second piece of ribbon/binding. You should have two loops, one for each pant leg.
(7) Pin the ribbon/binding to the pants so that the right side of the pants AND the ribbon/binding are facing you. They should overlap slightly. Mine overlaps about 1cm. This can be a little tricky. Use as many pins as you need and pin all around the leg opening and line them up as best you can. For the best looking result, try to align the seam of the ribbon/binding with one of the seams on the pant leg.

(8) Sew the ribbon/binding to the pants. If you have a small leg opening, the leg probably won't fit around the arm of the machine which makes this very tricky. I did it in very small sections. Make sure you don't accidentally sew the other side of the pant opening or you are going to sew the entire pant leg closed!

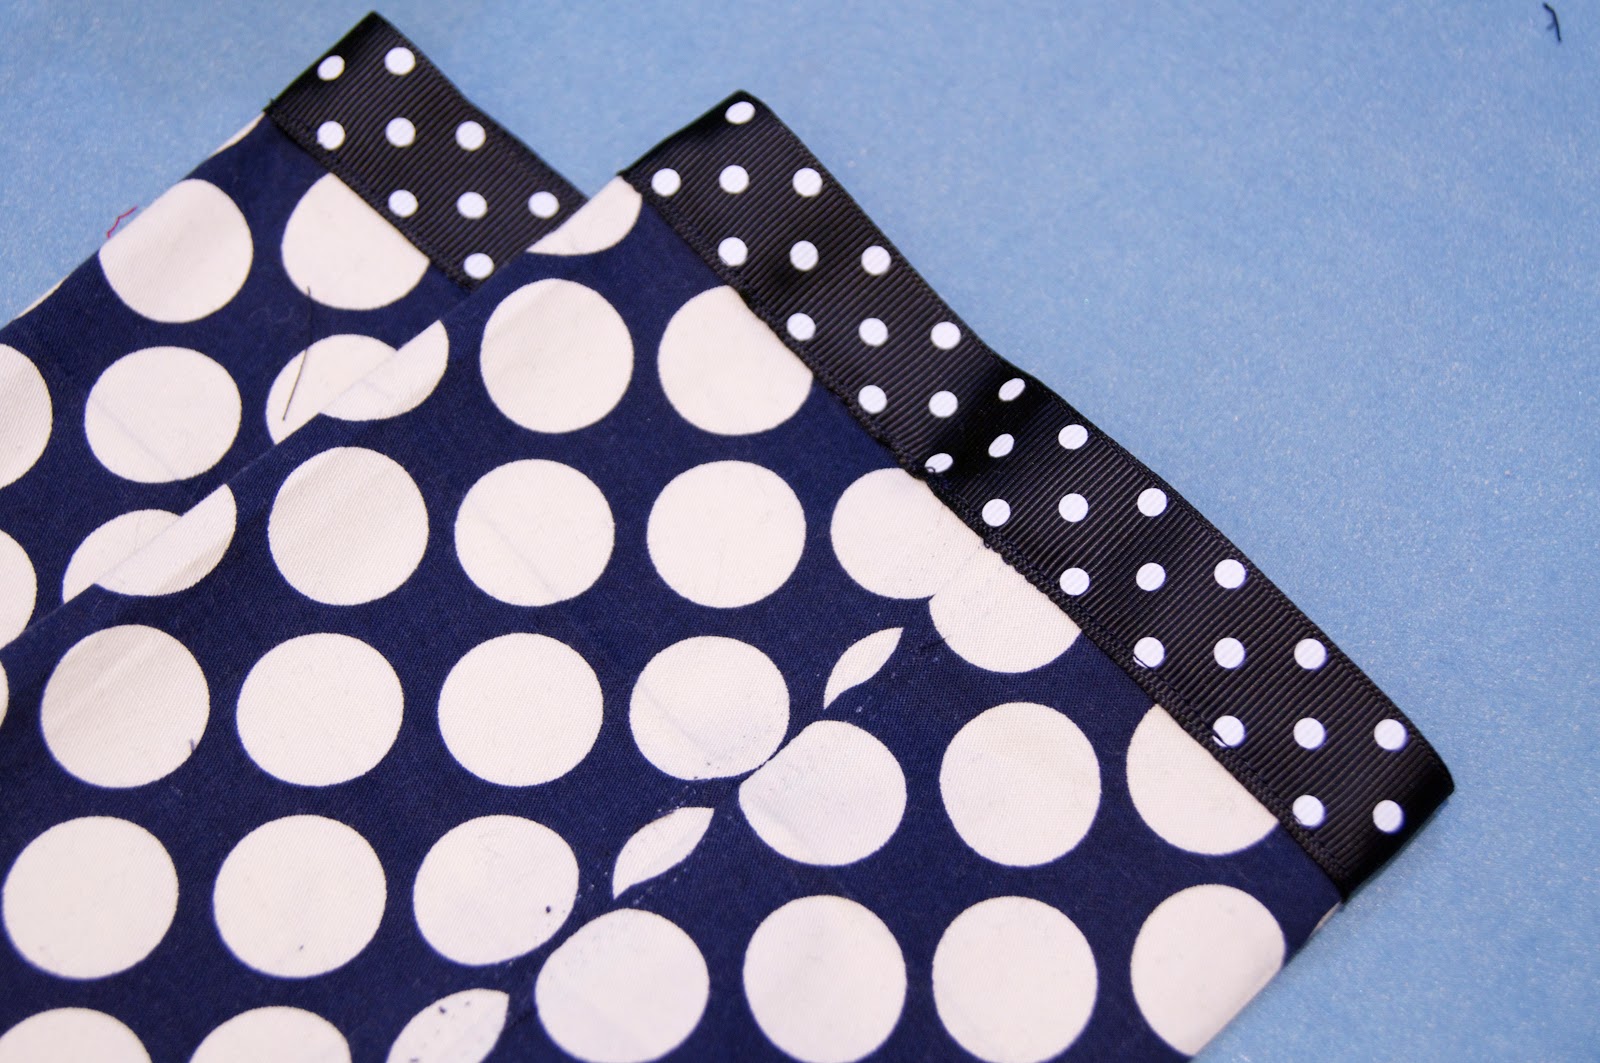
(9) Repeat steps (7) and (8) with the other pant leg.
This is the end product after the ribbon was sewn on to the pant leg. If you look closely, you can see I had sewn the ribbon as close to the edge as possible:
(10) Fold the ribbon/binding inside the pant leg so you can no longer see it and adjust to desired length. I wanted as much length as possible, so the edge of the binding is right at the edge of the fold:

(11) Repeat with other leg.
(12) Hem the pants using desired method. I used an invisible hem.
(13) Press well.
Ta da! Here is the final result:

The same technique can be used for skirts, so I intend to use this same method for my J.Crew Double-Serge Cotton No.2 Skirt that I find too short for my liking. I hope this tutorial is helpful to someone! :D


No comments:
Post a Comment